
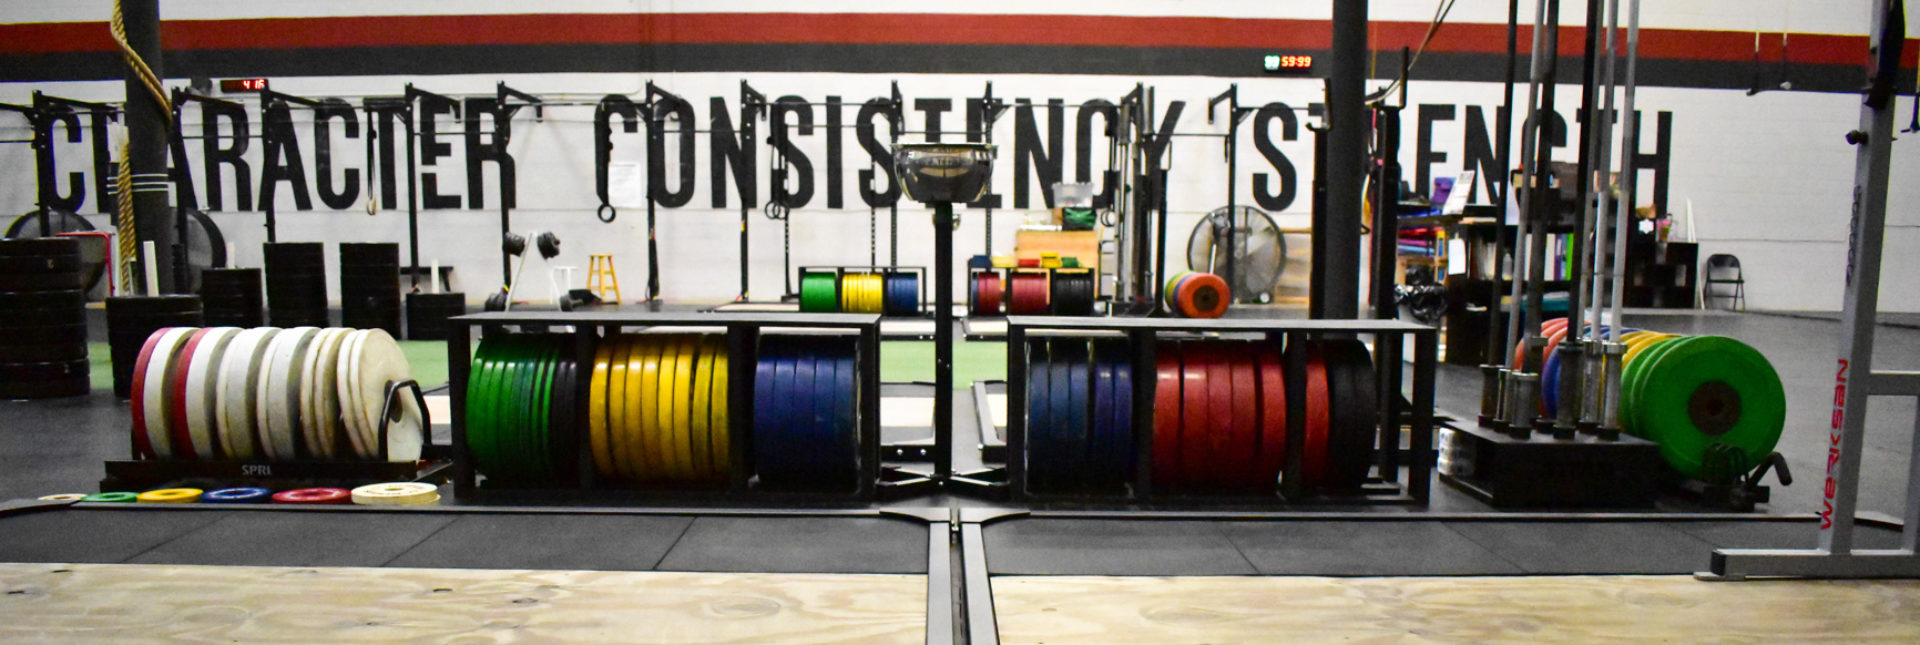

Let me just say this: I LOVE organization. Creating a place for everything is something that makes me happy more and more as the days go on. Naturally, after acquiring a ton of weights and bumper plates, the next logical jump in my mind is, “Where do I put them all?” I’ve built wooden trays for bumper plates before, but the owners at CrossFit 813 have taken them to the next level. That’s right. Wheels.
I love these so much that I built more of them even though I have a heavy duty metal rack for my Uesaka plates. These trays are perfect for gyms with an open floor plan or with platforms that might be spread out but can not permanently leave racks sitting out.
MATERIALS NEEDED (2 Trays):
2′ x 6′ x 8′ Boards: 5; 14 pieces cut to 17″; 4 pieces cut to 34″ (Note: the 34″ length can vary depending on the number/types of plates you will be storing. You may want to do some measuring first.)
3″ wood screws: 2 boxes of 80 pcs.
Rotating casters: 8
Plywood: I had 2 scrap 24″ x 48″ pieces that I used for this.

Step 1: Start by building the frame of the tray. 34″ pieces joined at the ends by two 17″ pieces.
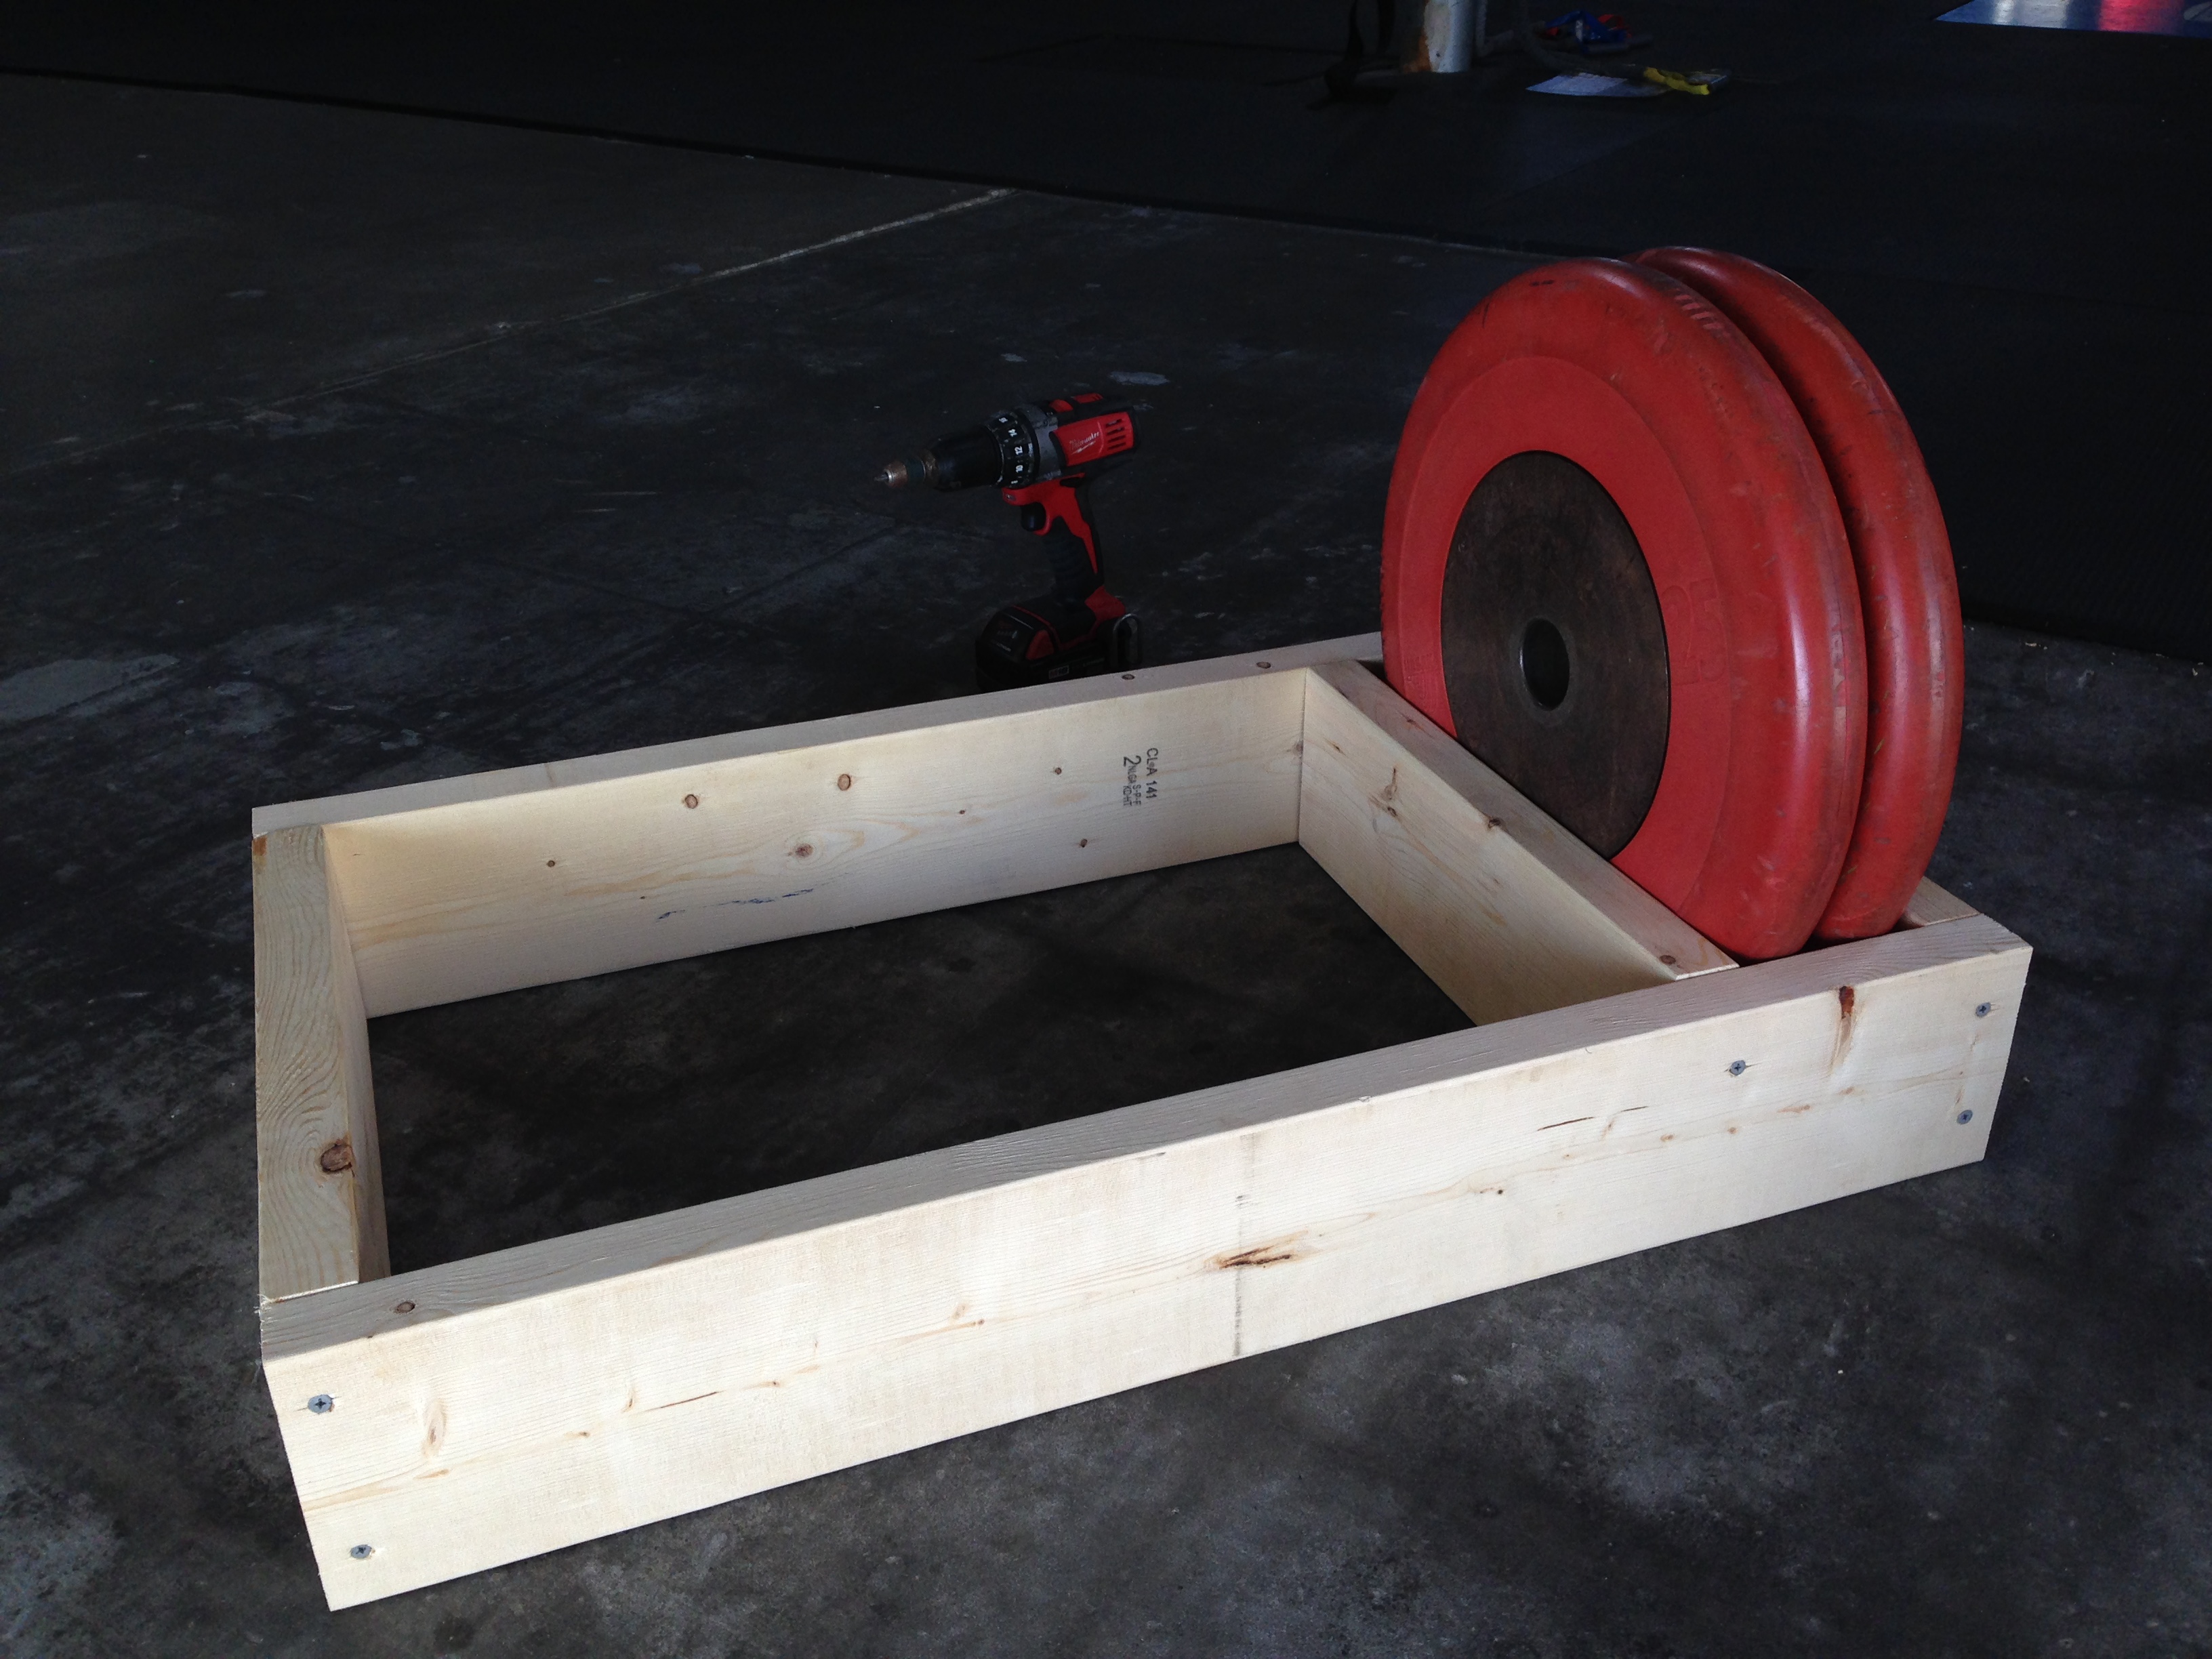
Step 2: Fit your plates and start adding the dividers. I didn’t measure for this, I just fitted them by feel so that they were tight enough to hold the weights upright, but loose enough to remove the weights easily.
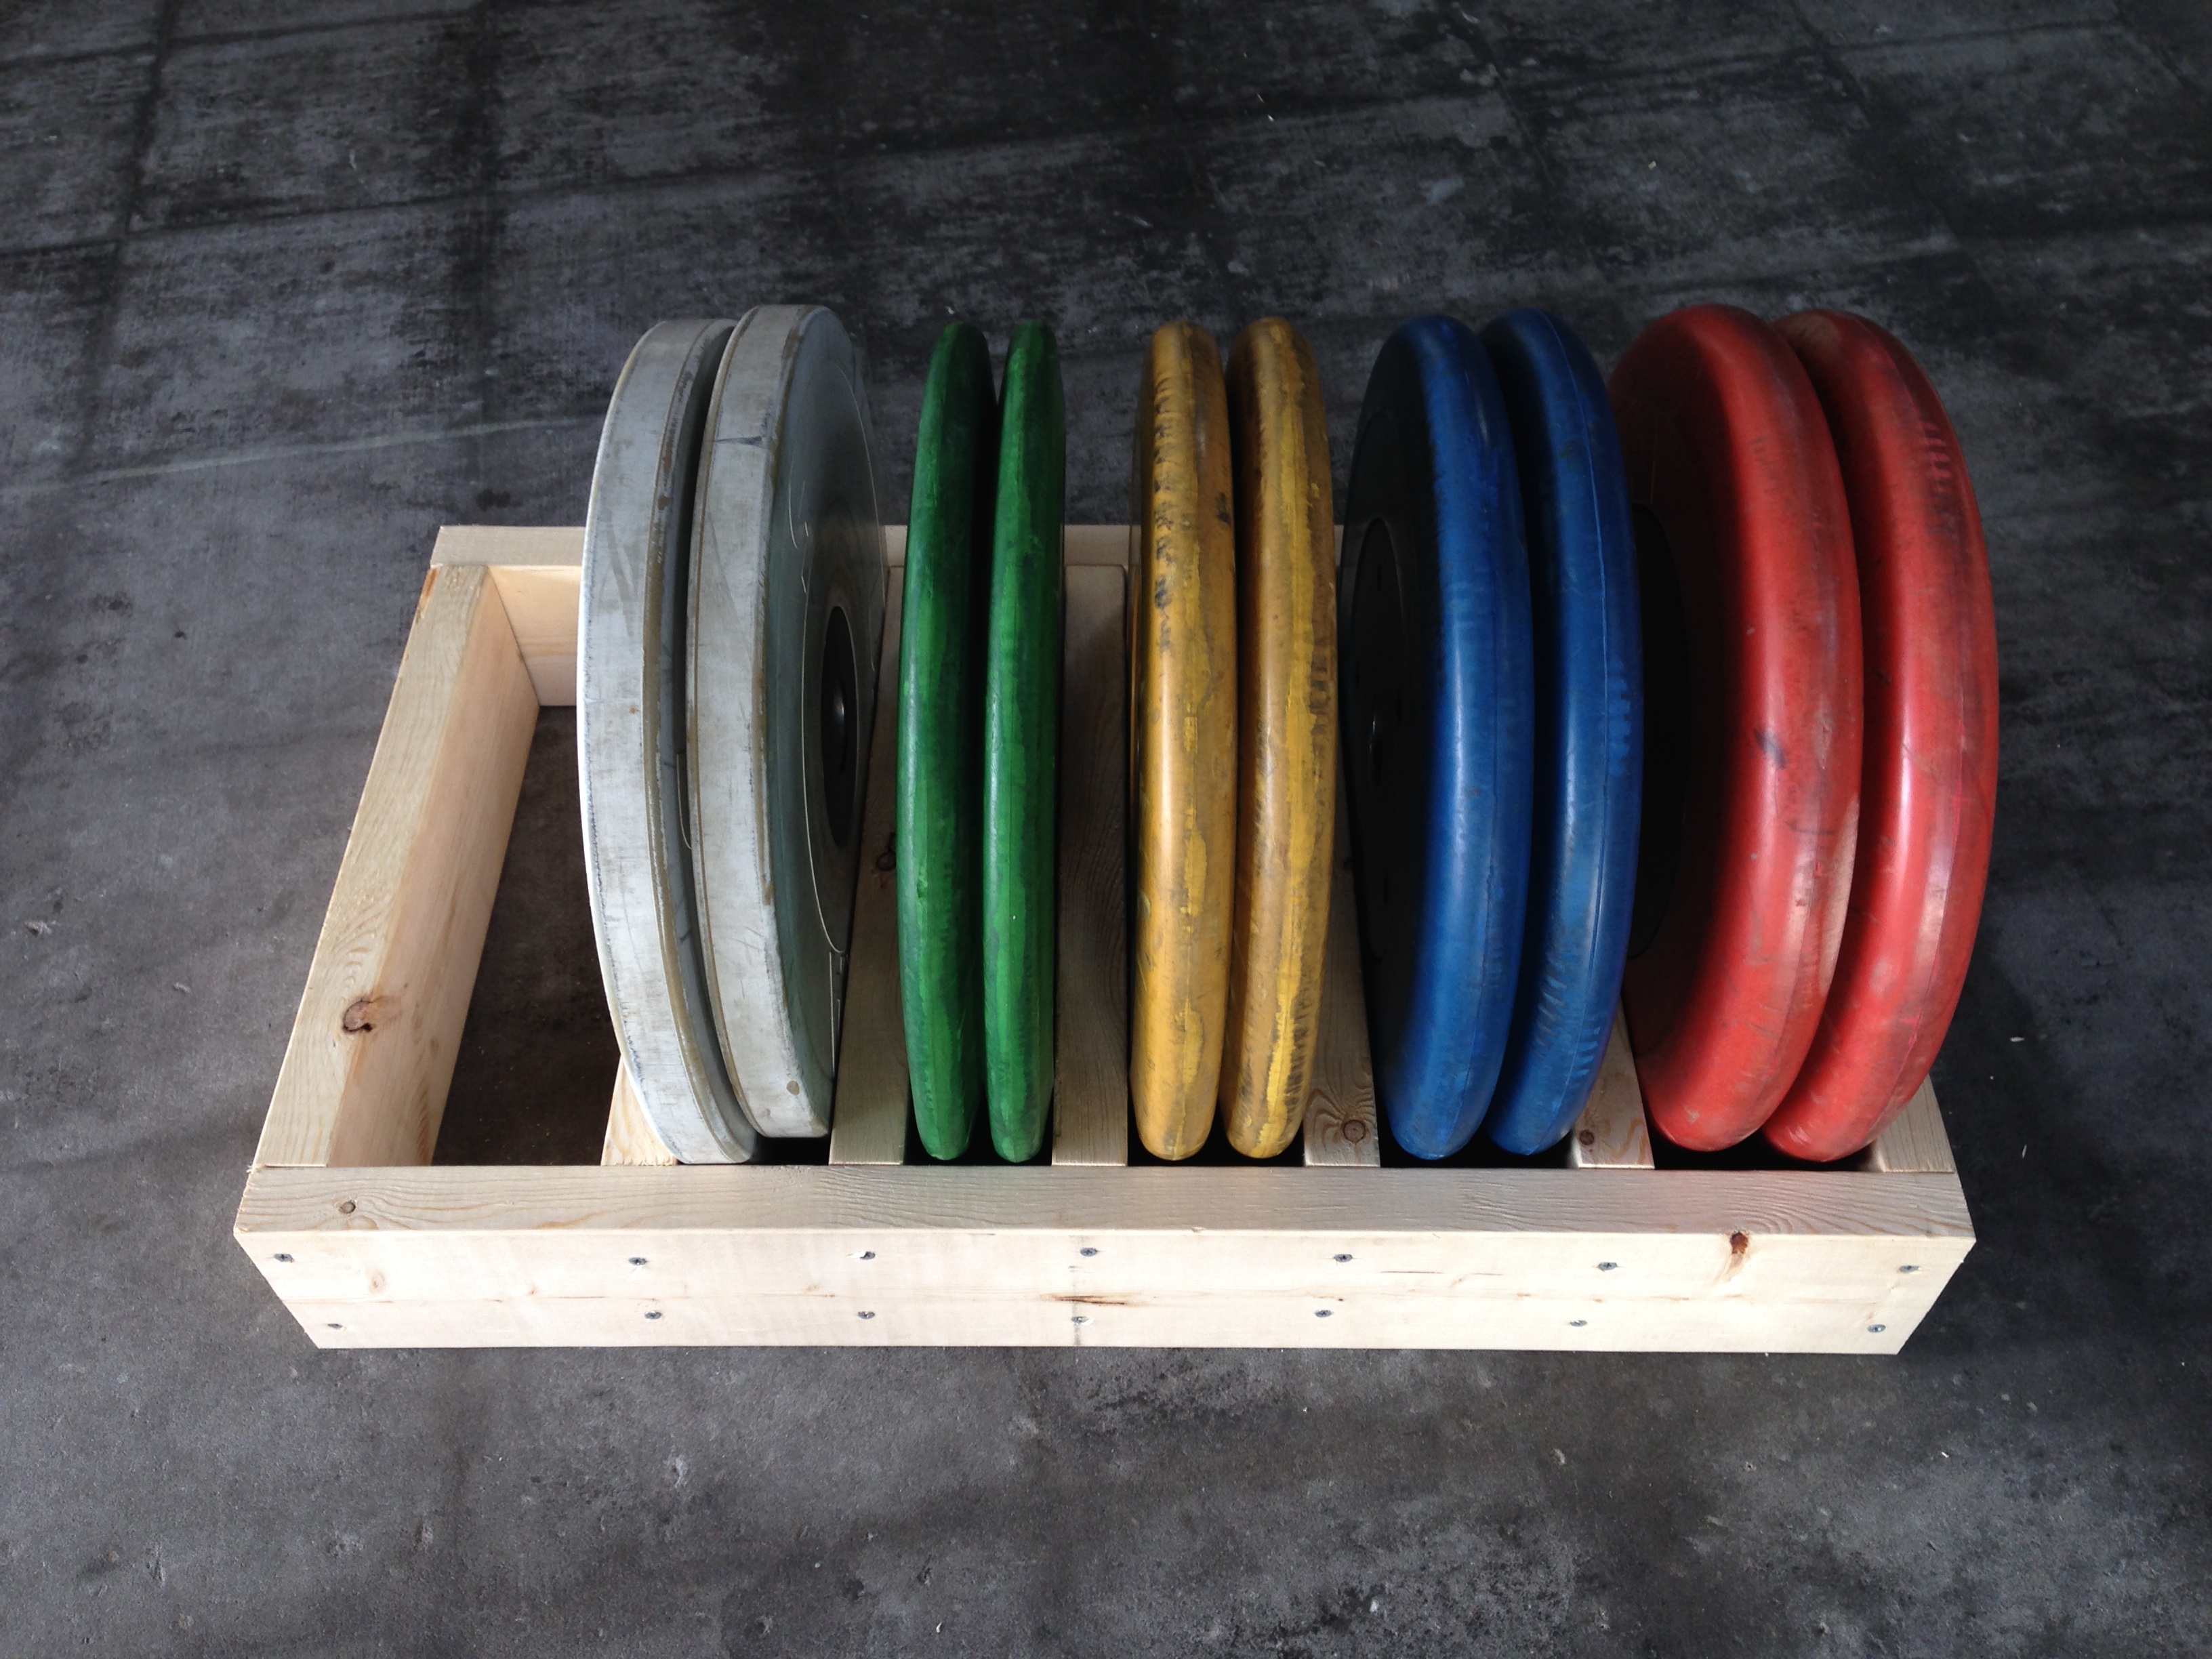

Step 3: Continue on until you are fitted for the rest of your set with some room at the front of the tray for some change plates.
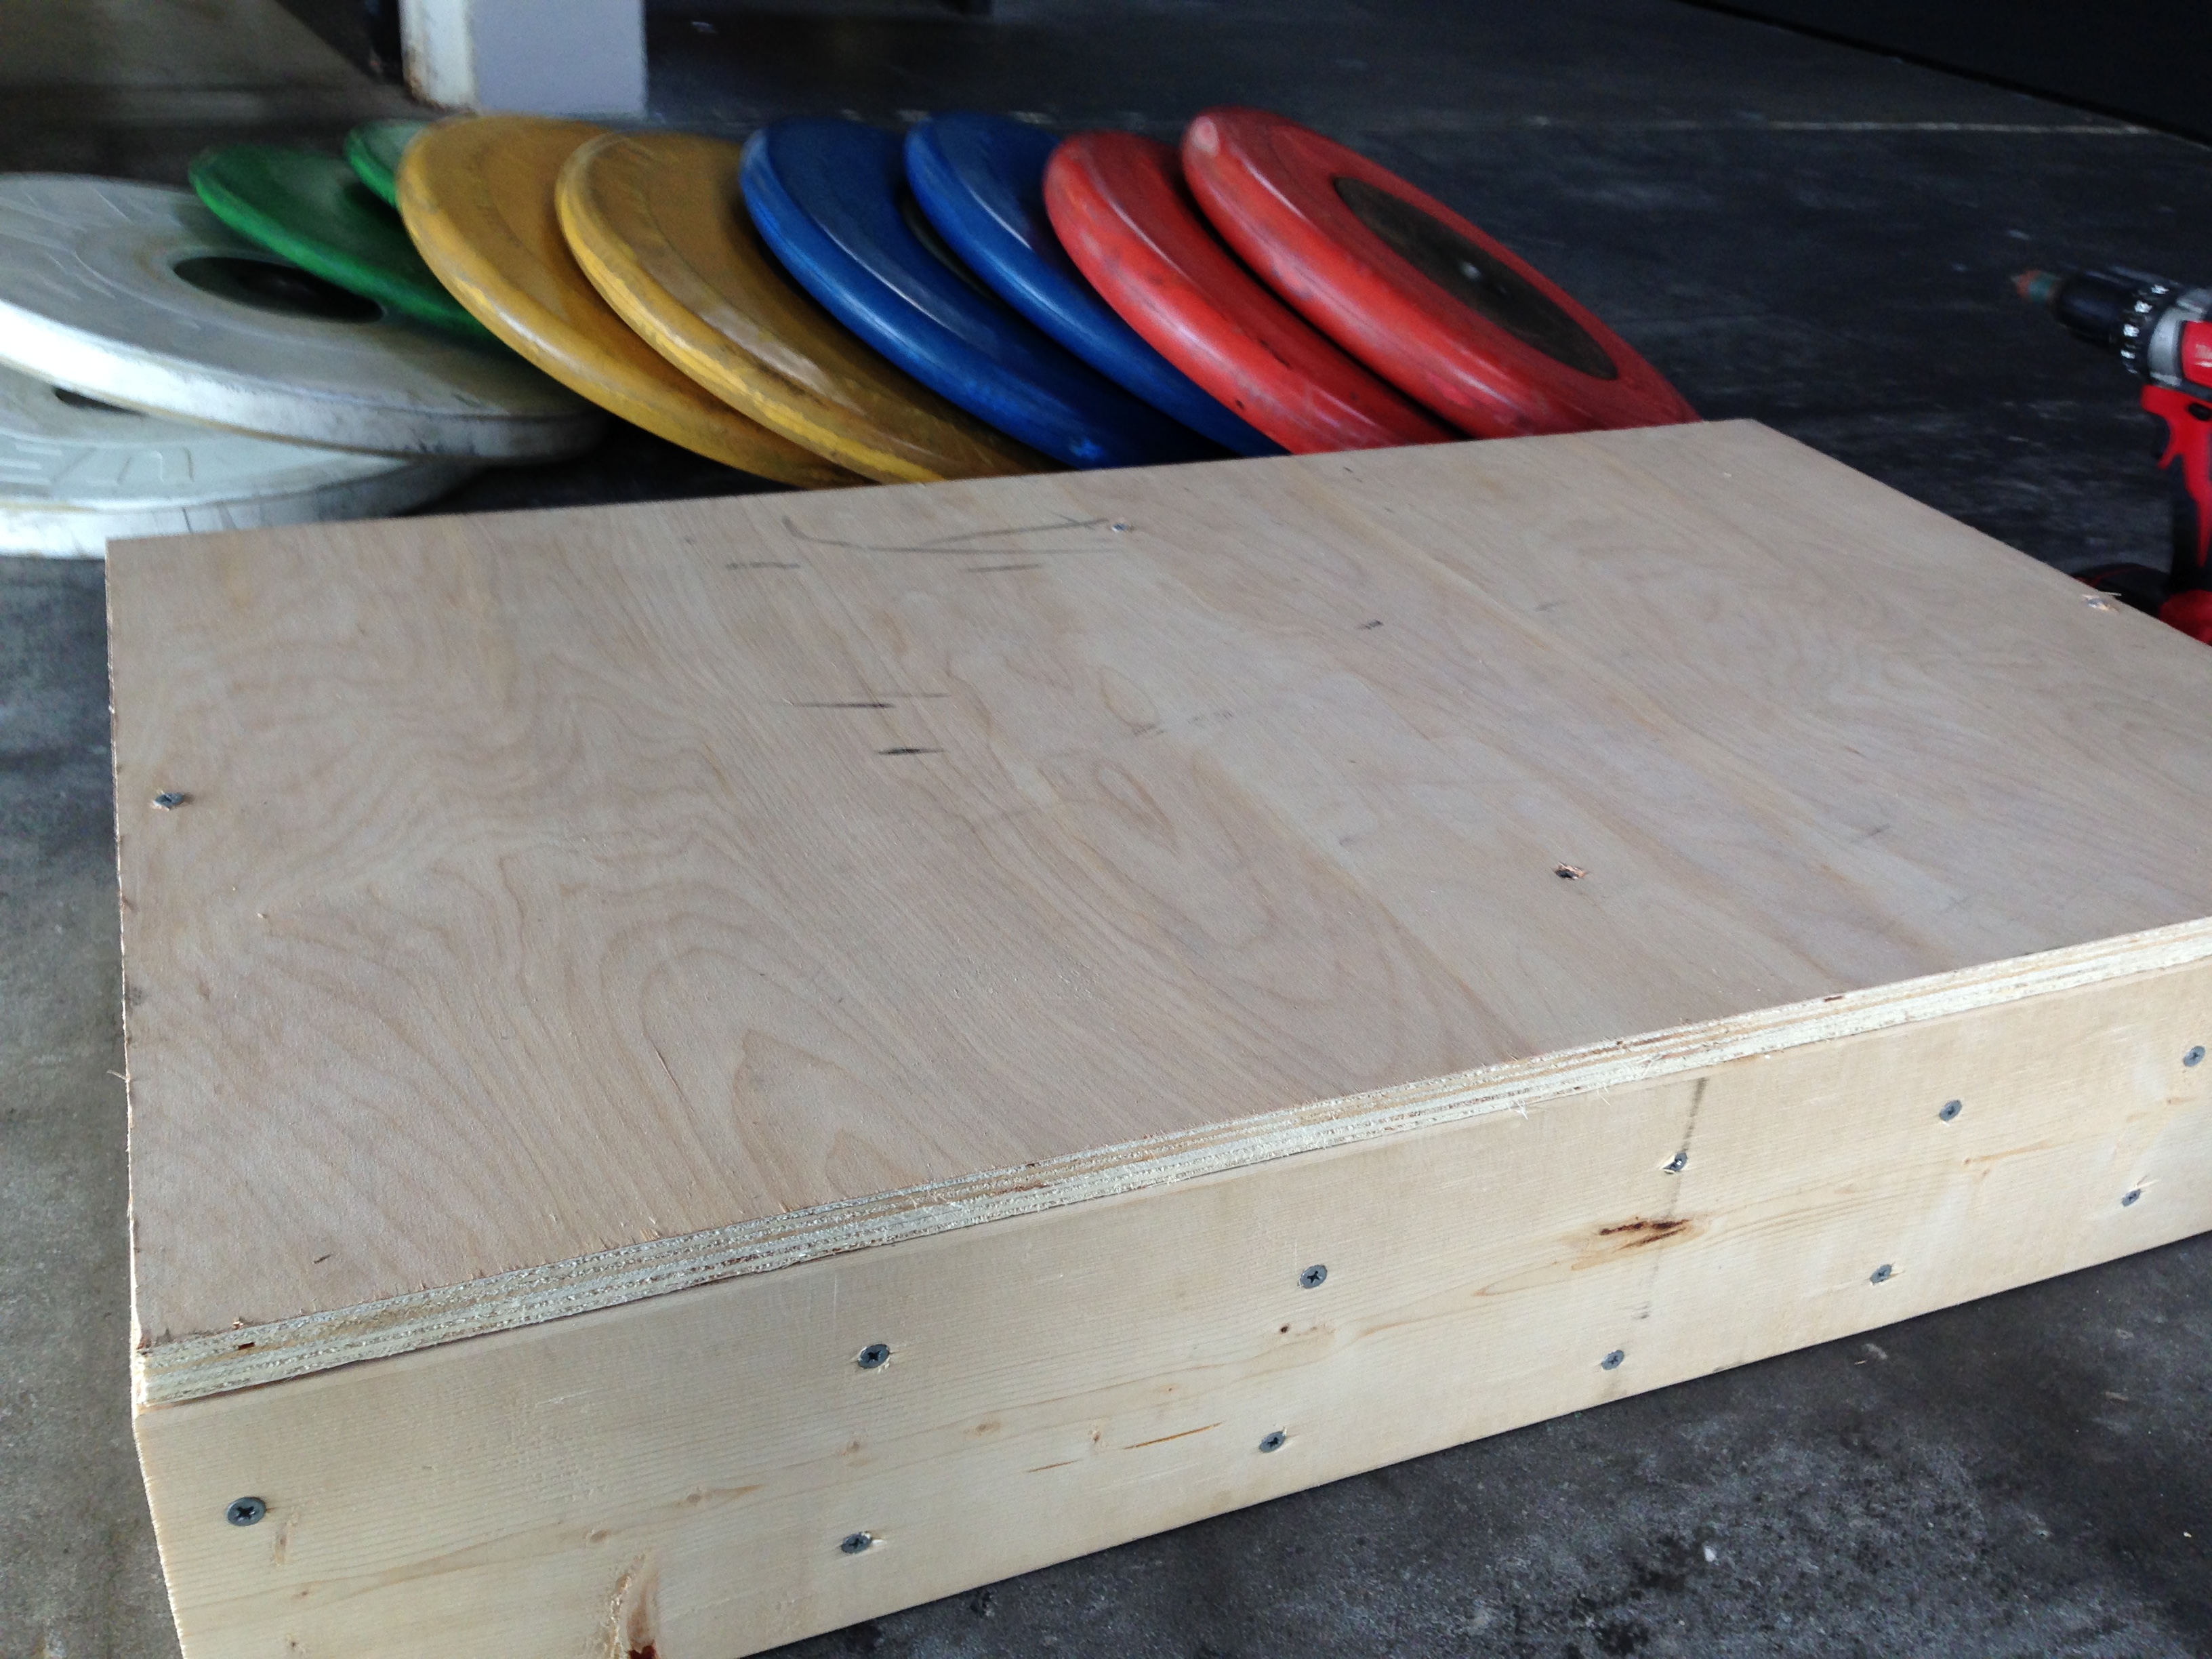
Step 4: Trace the outline of the tray on your plywood for an exact fit. Once traced, cut out the panel and attach it to the bottom of the tray using wood screws. I would suggest attaching the panel at the ends, sides, and through the middle. Remember, it will be supporting a lot of weight, so reinforce it as you see necessary. Leave the corners free though. You’ll see why in the next step.

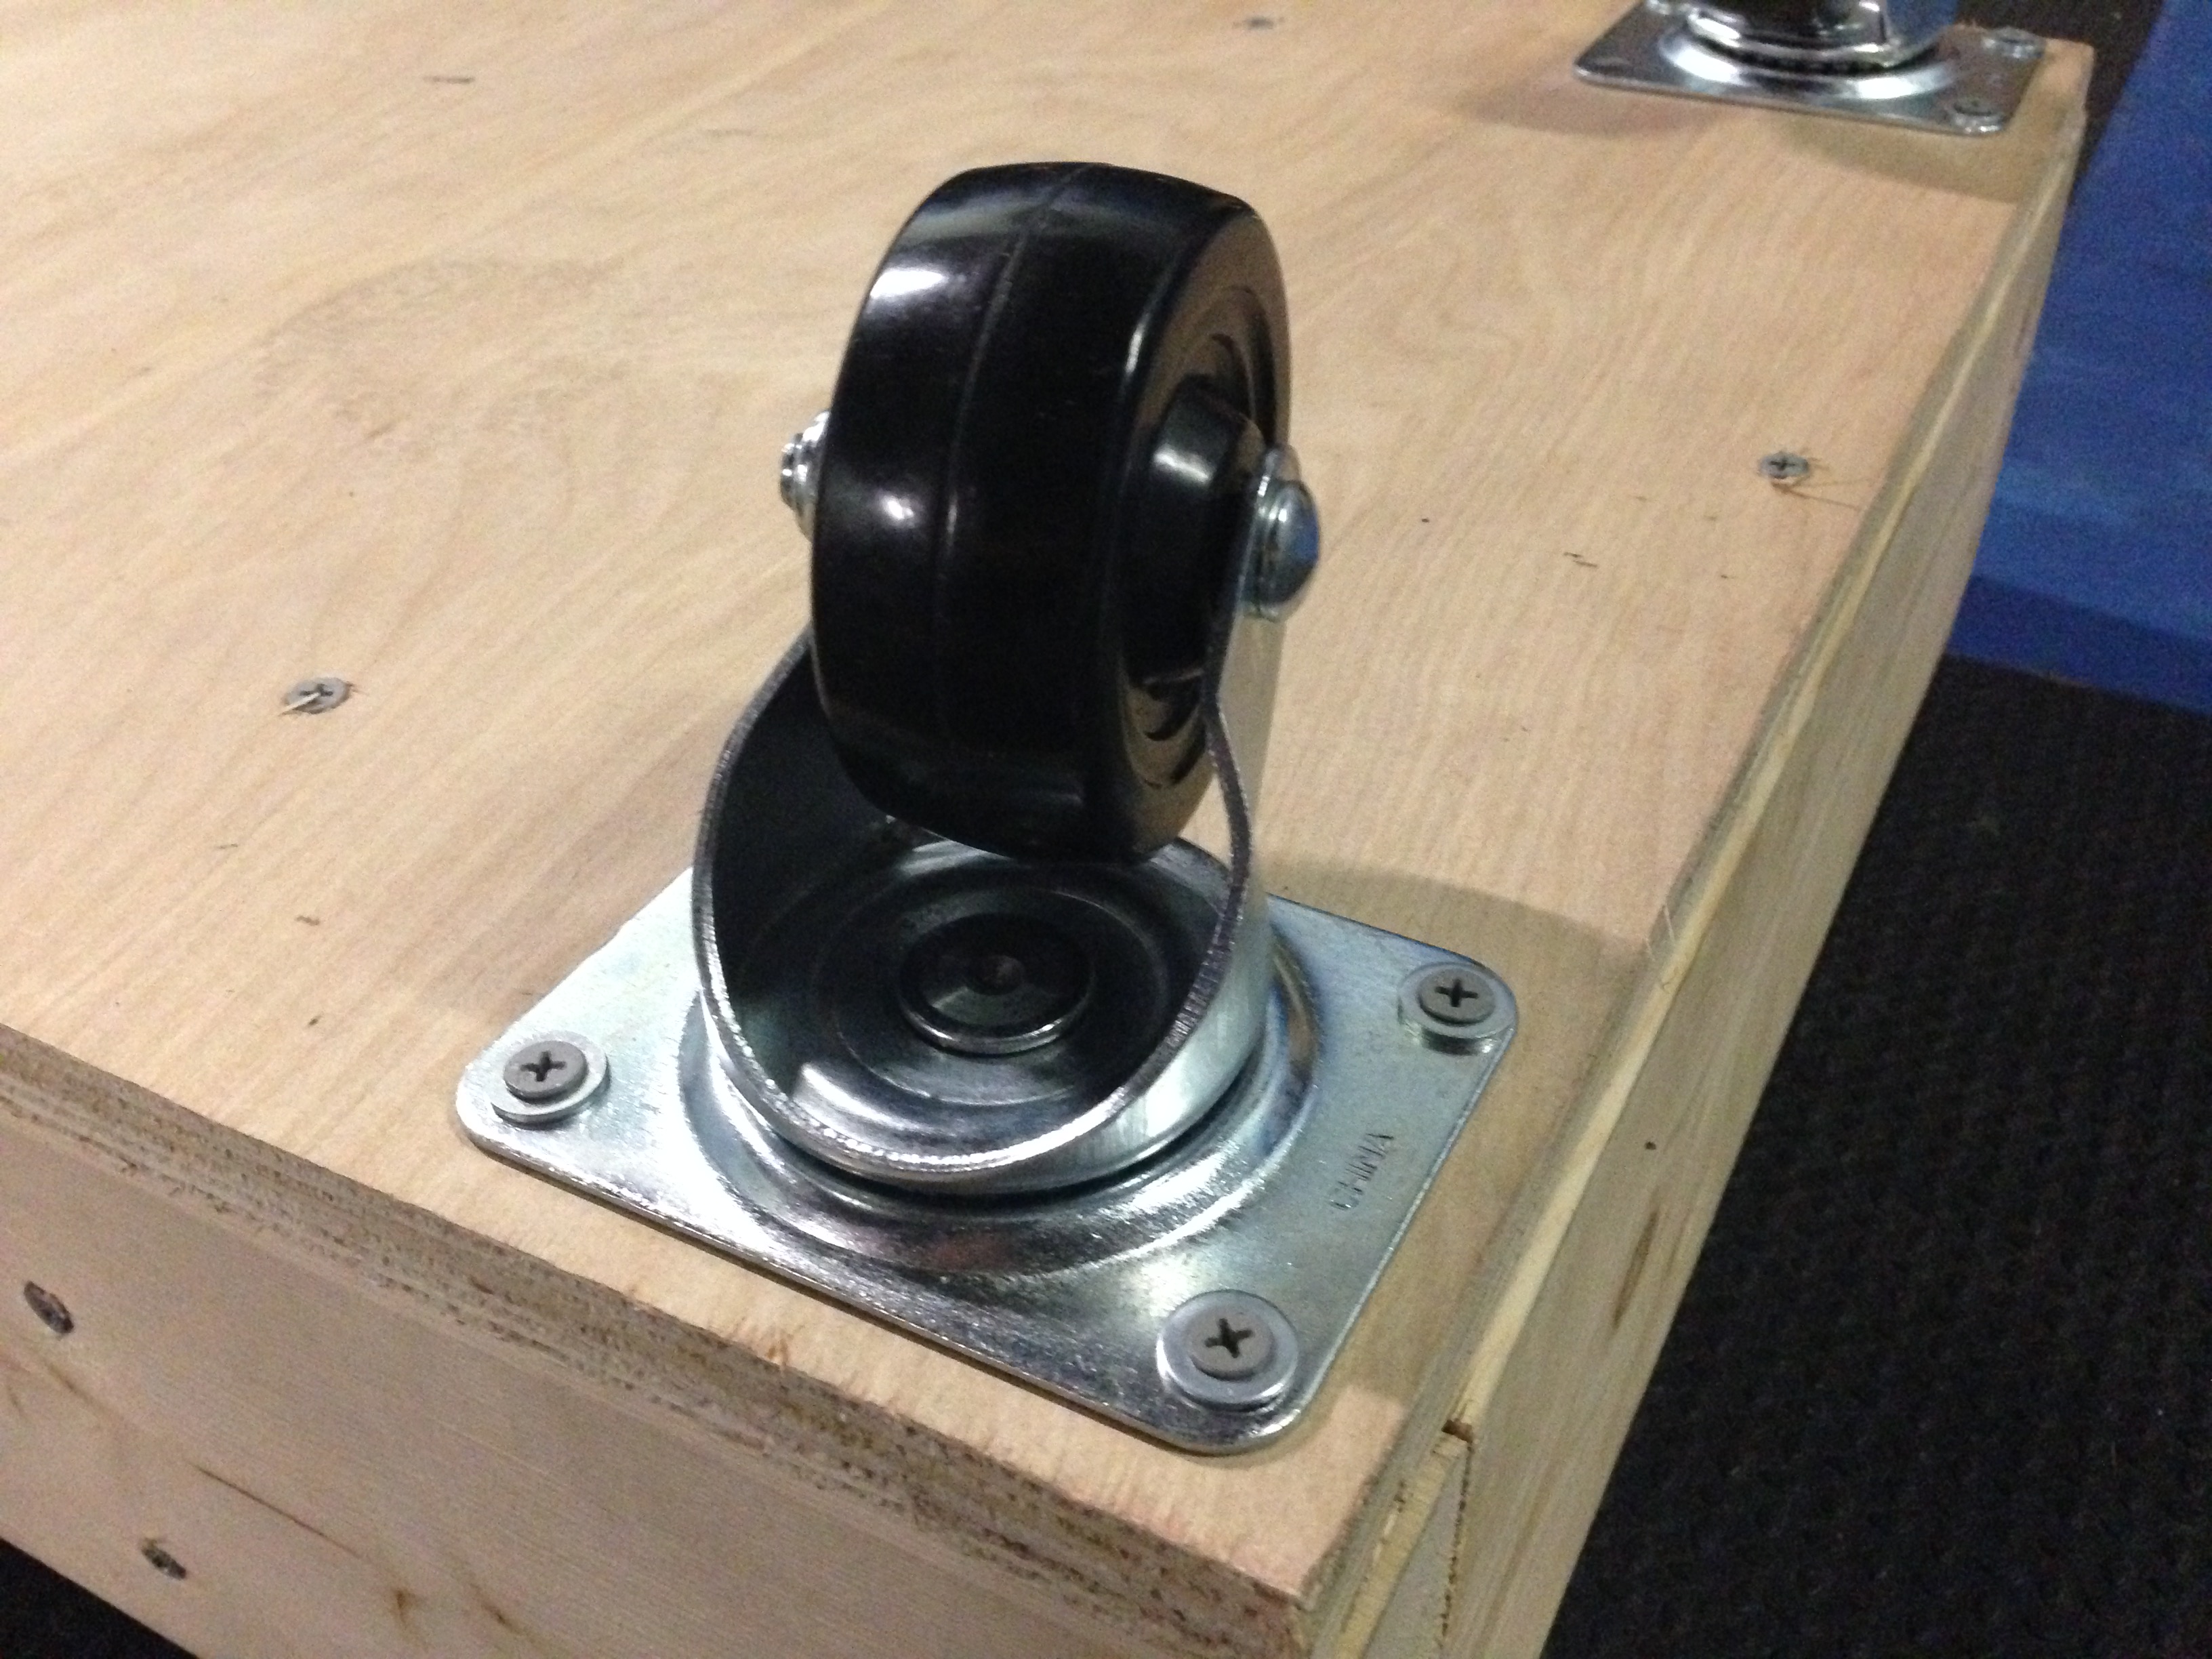
Step 5: Attach your casters using the corner edges of the 2×6’s. You might need washers depending on the size of the mounting holes and heads of the screws.

Step 6: Flip the tray over, fill with weights, and let the convenience flow.
oly, olympic, lifting, olylifting, weightlifting, snatch, clean, jerk, squats, competition, crossfit, tampa, tampa bay, 813, crossfit 813, team 813 weightlifting, training, fitness, gym, workout, usaw, usa weightlifting, keeppulling, saint petersburg, clearwater, palm harbor, brandon, westchase, oldsmar, orlando, spring hill, tarpon springs, dunedin, largo, plant city, zephyrhills, wesley chapel, land of lakes