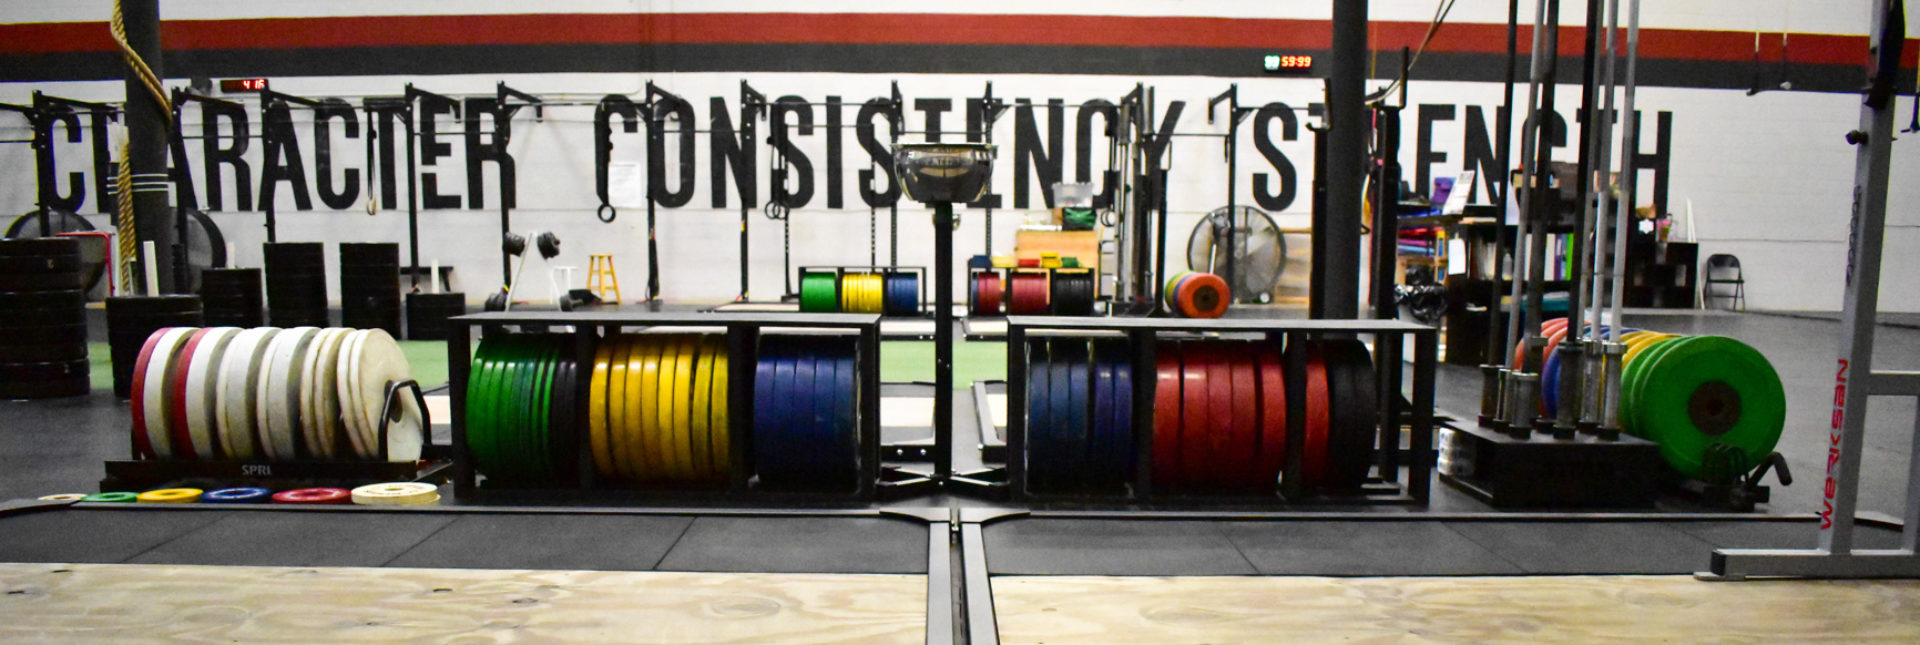
Sure, it’s been done before, but since we love combining practicality and functionality SO MUCH, here’s how you can do it too! Follow along with this step-by-step tutorial on how we built these storage benches so that maybe one day, you can build them too!
TOOLS LIST:
- Drill / Driver
- Circular Saw and/or Mitre Saw
- Power Sander
- Level
- Tape Measurer
- Hammer
- Nail Gun (optional)
MATERIALS LIST:
The following materials and quantities will construct ONE (1) bench.
- Two (2) 16″ x 48″ sections of plywood sheet
- Eight (8) 19″ sections of 2″x4″
- Two (2) 48″ wooden dowels
- Thirty two (32) #8, 2 1/2″ wood screws
COST:
To build SIX (6) of these, I spent $136.00 in materials and an afternoon of my time. If you’re not afraid of getting your hands dirty, you too can build these for less than $23.00 a piece.

STEP 1: GOT WOOD!?
Go to your local Lowes and grab the wood you need. For one bench, you’ll need ONE full 4’x8′ sheet of plywood, and TWO (2) eight-foot long 2″x4″
Then bring it to the wood cutting section and have them make all the cuts for you! (See materials list for measurements)
STEP 2: KEEP MEASURING!
Now that you have your materials, it’s time to stage them for assembly. Grab your flat sheets of ply and those will be your top and bottom of the bench.
I’d suggest standing up the 2×4’s flush in the four corners of the sheet and marking where they will attach.
Next, take your tape measurer and run it end-to-end on the 48″ width of the sheet of ply. Make marks at 16″ and 32″ as this is where the interior support columns will attach. Do this on BOTH SIDES!
Next up, DRILLING!
STEP 3: DRILL BABY, DRILL!
When working with and assembling wood, it’s always a good idea to drill pilot holes for your screws. So, grab a plywood sheet and let’s line up two holes per 2×4. That means you’ll be drilling a total of 16 holes per sheet of plywood.
Make sure to use a wood drill bit that is slightly smaller in diameter than the threads of the wood screws that we’ll be using.
Once your holes are all drilled, START your screws in the holes so that only about 1/8″ of the screw is sticking out the back of the sheet of ply.
STEP 4: STORAGE BENCH, ASSEMMBLEEE!
OK, let’s see how crafty you can be! Start with the four corner posts and sink your screws flush to the plywood. Once your four corner posts are attached and the bench is freestanding, start attaching the center support columns.
STEP 5: FLIP IT, NAIL IT, STOP IT!
Now that your columns are attached, flip that sucker over! Now grab your two 48″ wooden dowels and lay them inside the box against the inner edges of the support columns. These dowels will be what prevents the weights from rolling out of the bench…a “stopper”.
This is where a nail gun comes in handy, though you can go paleo with a hammer and small finishing nails. I, on the other hand, like to use technological advances to my benefit, so grab your nail gun with 1/2″ finishing nails and run a line straight through the middle of the dowel!

STEP 6: KEEP YOUR TOP ON!
We’re almost there! Lay that other sheet of ply on the top of the bare columns and do your best to line the columns up with the pilot holes. There’s a strong chance that you’ll have to manhandle the columns into place/make them level WHILE you’re screwing in the wood screws. If you can’t do it alone, don’t be afraid to ask for help! After all, that’s what hashtag community is all about, right?
STEP 7: HOLD ON TO YOUR BUTTS!
YOU DID IT!
BUT!
Think of what those sharp edges will do to your lifters’ butts. If you have a sander, grab it and hit the top to free up any loose edges, smooth it over, and take off those sharp splinters. If you really want to get fancy, you can run that sander along the front edges to make the seat beveled.
Yeah, that’s next level.
Yeah, ours are beveled 😉
FINALLY, you can paint them if you’re into that. Eventually, I’m going to paint these black to match the other ones I built last year, and then maybe some vinyl upholstery on top for a little cushion.
Thanks for building!


